How to change
Air Purifier filters
New and clean filters snatch undesired particles out of your air and optimize airflow, however, as your device works to rid your air of contaminants, the filter may become clogged over time - your device won’t perform efficiently. When this happens, it’s time to change your filter. You should be on the lookout for the copycats because although they imitate our filters in form, they don’t in performance.
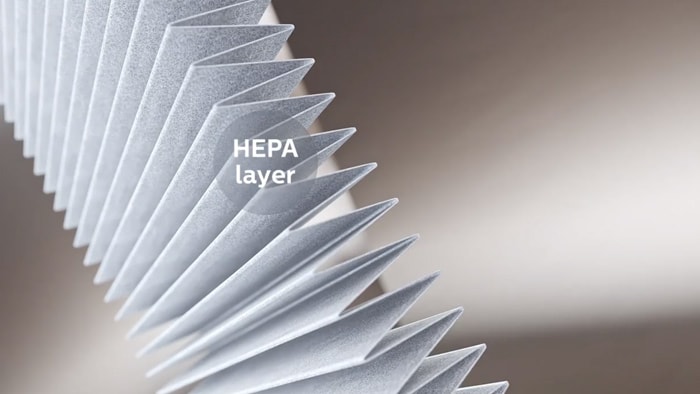
Philips filters are designed to give you a top clean air delivery rate (CADR) from our air purifiers, they’re the best filters for our devices. Our filters have a unique structure made from shed-resistant ultrasonically bonded and antibacterial polypropylene fibers. The filters’ structures are clog-resistant and also stop collected particles from escaping back into the air.
Select your Air Purifier
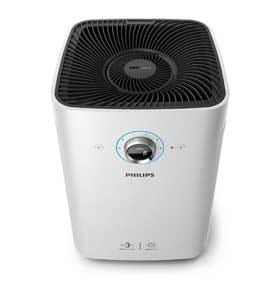
You can find the product name on the back of your purifier
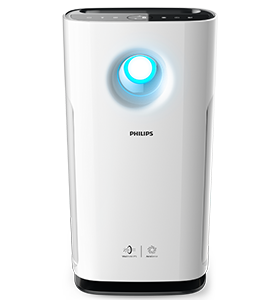
It is very easy to find the name of your Philips Air Purifier. Just look at the back of your Philips Air Purifier. The name of your product is written there such as Philips Air Purifier Series 1000 etc.
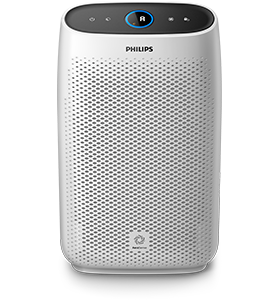
How to change filters: Air Purifier Series 1000 (AC12XX)
Before start: Please replace the filter when A3/C7 flashes on the screen. Wash your hands after changing the filter . Do not touch the pleated filter surface, or smell the filter as it has collected pollutants from the air.
| Filter alert light status | Action |
| A3 displays on the screen | Replace NanoProtect filter HEPA Series 3 (FY1410) |
| C7 displays on the screen | Replace the NanoProtect filter AC (FY1413) |
| A3 and C7 displayon the screen alternately | Replace both filters |
Step 1:
Turn off the air purifier and unplug from the wall outlet. Take out the used air filter according to the filter alert light status displayed on the screen. Discard used filter.
Step 2:
Remove all packaging material from the new filter. Place the new filters into the air purifier.
Step 3:
Put the plug in the air purifier in the wall outlet. Touch the child lock for 3 seconds to reset the filter lifetime counter.
Buy filters for Air Purifier Series 1000
-
- Compatible with 1000i and 2000i Series
- In the box: 1 filter
- Lifespan of 1 year
- Original Philips filter
-
- Compatible with 1000i and 2000i Series
- In the box: 1 filter
- Lifespan of 2 years
- Original Philips filter


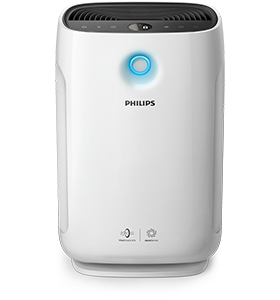
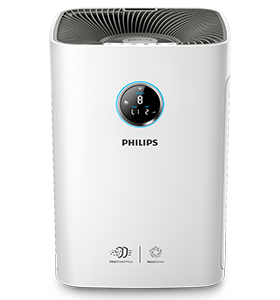
How to change filters: Air Purifier Series 2000 (AC288X)
Before start: Please replace the filter when A3/C7 flashes on the screen. Wash your hands after changing the filter. Do not touch the pleated filter surface, or smell the filter as it has collected pollutants from the air.
| Filter alert light status | Action |
| A3 displays on the screen | Replace NanoProtect filter Series 3 (FY2422) |
| C7 displays on the screen | Replace the NanoProtect filter AC (FY2420) |
| A3 and C7 displayon the screen alternately | Replace both filters |
Step 1:
Turn off the air purifier and unplug from the wall outlet. Take out the used air filter according to the filter alert light status displayed on the screen. Discard used filter.
Step 2:
Remove all packaging material from the new filter. Place the new filters into the air purifier.
Step 3:
Put the plug in the air purifier in the wall outlet. Touch and hold the reset button for 3 seconds to reset the filter lifetime counter.
Buy filters for Air Purifier Series 2000
-
- Compatible with 2000i and 3000i Series
- In the box: 1 filter
- Lifespan of 1 year
- Original Philips filter
-
- Compatible with 2000i and 3000i Series
- In the box: 1 filter
- Lifespan of 2 years
- Original Philips filter


How to change filters: Air Purifier Series 3000 (AC325X)
Before start: Please replace the filter when A3/C7 flashes on the screen. Wash your hands after changing the filter. Do not touch the pleated filter surface, or smell the filter as it has collected pollutants from the air.
| Filter alert light status | Action |
| A3 displays on the screen | Replace NanoProtect filter Series 3 (FY3433) |
| C7 displays on the screen | Replace the NanoProtect filter AC (FY3432) |
| A3 and C7 display on the screen alternately | Replace both filters |
Step 1:
Turn off the air purifier and unplug from the wall outlet. Take out the used air filter according to the filter alert light status displayed on the screen. Discard used filter.
Step 2:
Remove all packaging material from the new filter. Place the new filters into the air purifier.
Step 3:
Put the plug in the air purifier in the wall outlet. Touch and hold the reset button for 3 seconds to reset the filter lifetime counter.
Buy filters for Air Purifier Series 3000
-
Nano Protect Filter
FY3432/30
- Reduces TVOC*
- Reduces odors
-
NanoProtect HEPA filter
FY3433
- Captures 99.97% of particles
How to change filters: Air Purifier Series 6000 (AC6XXX)
Before start: Please replace the filter when A3/C7 flashes on the screen. Wash your hands after changing the filter. Do not touch the pleated filter surface, or smell the filter as it has collected pollutants from the air.
| Filter alert light status | Follow this |
| lights up, and A5 displays on the screen | Replace NanoProtect HEPA S3 filter (FY6172) |
| lights up, and C7 displays on the screen | Replace the NanoProtect AC filter (FY6171) |
| lights up, A5 and C7 display on the screen alternately | Replace the NanoProtect HEPA S3 filter and NanoProtect AC filter |
Step 1:
Turn off the air purifier and unplug from the wall outlet. Take out the used air filter according to the filter alert light status displayed on the screen. Discard used filter.
Step 2:
Remove all packaging material from the new filter. Place the new filters into the air purifier. Put the plug in the air purifier in the wall outlet. Touch and hold the reset button for 3 seconds to reset the filter lifetime counter.
Buy filters for Air Purifier Series 6000
-
NanoProtect filter Active Carbon
FY6171/30
- Removes odor and various gases
-
NanoProtect HEPA filter
FY6172/30
- 99.97% 0.3µm particle removal*
- Remove UFP as small as 20nm**


What about Pre-filter?
How can I change it?
The pre-filter can (and should) be washed monthly.
Please check the user manual to know how to wash the pre-filter for your specific model.
(for some purifiers you may need to wash it under the tap and for others you may need to vacuum it).
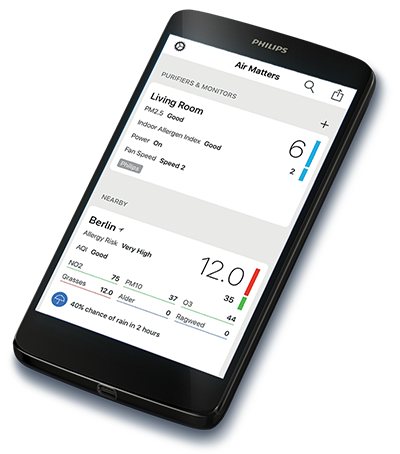
Download the Air Matters app to get notified on filter life
Frequently Asked Questions about Air Purifier filters
- My Philips Air Purifier produces a bad/unpleasant smell
-
Plastic smell produced during initial usage
The first few times you use your air purifier, it may produce a plastic smell.
Do not worry, this is normal and will fully disappear within a few days.
However, if the appliance produces a burnt smell, we recommend you to contact us.The filter is dirty
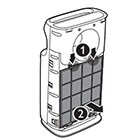
When your air purifier's filter (A and B in the image below) is dirty, it might cause a dusty odor.
In this case, please replace the filter.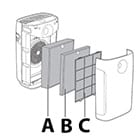
The filter absorbed gases to its maximum capacity.
When the filter absorbs gases to its maximum capacity, it may produce a dusty odor.
We strongly recommend a replacing the filter when indicated (please check specific indications for your purifier model in the user manual).
Do not clean, wash or vacuum clean this filter.The pre-filter is dirty
Your Philips air purifier might produce an unpleasant smell when the pre-filter (C in the image above) is dirty.
The pre-filter can (and should) be washed monthly. Please check the user manual to know how to wash the pre-filter for your specific model (for some purifiers you may need to wash it under the tap and for others you may need to vacuum it).
- Can I clean the filters/pre-filter of my Philips Air purifier?
-
You can clean or wash the pre-filter (indicated as C in the image below).
The other filters (indicated as A and B in the image below) cannot be washed: they need to be replaced. Please check your user manual to see replacement indications specific for your model. - Should I reset my Philips air purifier/humidifier after replacing a filter?
-
Resetting the air purifier or humidifier after a filter replacement
Your Philips Air Purifier or Humidifier needs to be reset after each filter replacement. This is done to activate the counting system for the new filter(s).
Also, your air purifier/humidifier is equipped with a filter replacement alert. It warns you when the filter needs to be cleaned (pre-filter only) and replaced.
If you do not reset the air purifier or humidifier after replacing a new filter, the appliance will alert you to replace a filter. - My Philips air purifier makes an unusual noise
-
The pre-filter may be clogged
Please, make sure the pre-filter is clean. If you need to clean it, you can follow these instructions:
- Switch off the appliance and unplug it from the wall outlet.
- Pull the bottom part of the panel (the front or the back part of your purifier) to remove it from the appliance
- Press the two clips down and pull the pre-filter towards you (see image below)
- Wash the pre-filter under a running tap. If the pre-filter is very dirty, use a soft brush to brush away the dust
- Air dry the pre-filter until it is completely dry.
The filter packaging is not removed
When the wrapping plastic is not removed from a filter, this might cause an unusual noise. Please, make sure there is not plastic wrap left covering the filters.
Something is blocking the air inlet or outlet
The air inlet or outlet may be blocked by external objects.
Please check this and make sure the air inlet and outlet are unobstructed.
Your air purifier may be malfunctioning
If none of the above situations apply, then there might be a technical issue with your purifier. In this case, please contact us. - My Philips air purifier’s filter replacement indication stays on
-
The filter lifetime counter is not reset
Sometimes, it may happen that the filter lifetime counter does not automatically reset after replacing your air purifier’s filter.
To solve this, please follow these steps:
- Plug in your air purifier
- Press the Power button
- Touch and hold the Reset button for three seconds